Wednesday, April 13, 2016

SHOP UPDATE: The stereo is finished in the rat rod


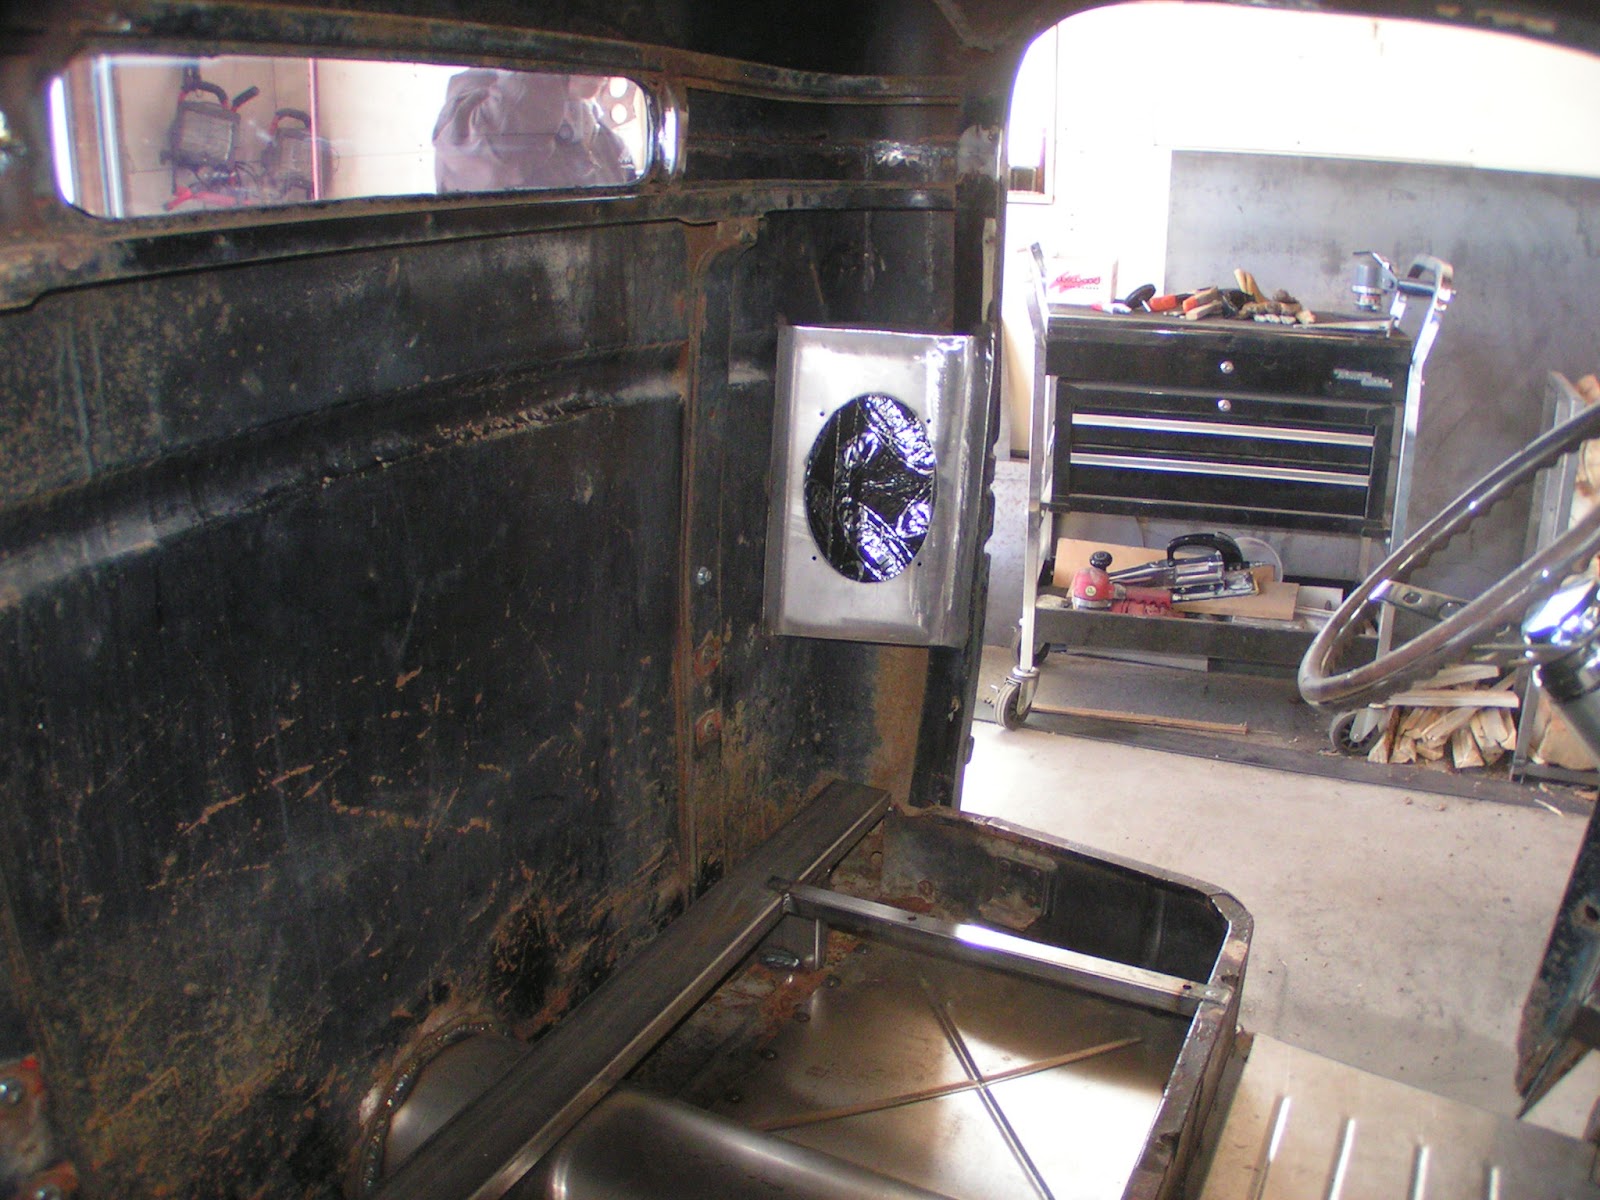
 These are the boxes we made for the Alpine 6x9 3 way speakers for the back of the cab
 Here it is installed in the cab corner
 This is the last shot before Susi starts covering everything with Dynamat


 This is the pod I made for the stereo head unit under the dash


 These are the rear speakers installed and Susi is kickin butt on the Dynamat


Here is the finished product. Alpine AM?FM cd player with 6x9 3 way rear speakers and 6 1/2 coaxial with separate tweeters up front. Sounds really good in this small cab

Friday, April 1, 2016

SHOP UPDATE: Been working on my Model A

So, The 42 is off to glass shop getting the windshield put in it. I have this open space in the shop and thought I better pull in the A and tie up a few loose ends. I am still on light duty you know


 I finally got around to painting the garnish molding and glove box hinge for My 29


 Here is the final product. I really love this green color.
I installed the glove box lid hinge.  After a bunch of trimming I was able to install the glove box. Now I need to find a better glove box lid or get to work saving the one I have.

 I made a couple of brackets and installed rollover valves on both fuel tank vent tubes. This fix stopped the fuel from leaking out the vent tubes when I launch from  slow speeds.
 Just Another shot of the chassis. Boy, everything is really tight.
 Here are my garnish moldings installed. It definitely looks more finished now.

 I repaired the broken tailgate closer on the passenger side. Now it just needs to rust up a little so it looks like it belongs
 I went for a ride today. The temps here in Montana are getting real nice. The heat coming up through the holes in floor was pretty severe. Thought it was time to install the boots on the shifter and E-brake. I will drive it tomorrow and see if it makes a difference.
 So I got a wild hair and decided to start covering the visor with matching material from the top.

 Lots of spray adhesive and stretching


 Here it is all finished. It turned out OK. Not perfect but the best I could do without overdoing it.

Here it is installed. It has a few wrinkles but I think a little heat from the sun and it should smooth right out. I like it, It does change the look of the truck.

Wednesday, March 30, 2016

SHOP UPDATE: Tin for sale 1938 Ford Deluxe Coupe


Here is a 38 Ford deluxe coupe body and frame. It has a very nice roof and rust free floor. The drivers side is very straight and rust free. The car laid on the passenger side so It has a little rust at the bottom. The body has pitting but no rust through. No pin holes. It has all the garnish moldings, a banjo steering wheel and a nice chrome windshield frame. It needs both doors and is missing the trunk lid. It also needs the rear pan below the trunk. This panel is re-produced through EMS. Frame has visible VIN number and both bumpers and brackets. what you see is what you get. Interested? call 406 684-5126

SHOP UPDATE: On light duty but back in the shop


 I cut and installed the E brake cables and hooked up the E brake. It took 2 hours to get the Ebrake levers freed up and working in the rear brakes but it works like a champ now.

 Her is the transmission tunnel I fabricated all welded and ground.

 Here it is installed for a test fit before we Dynamat the cab for noise reduction
 Today I installed the radiator support rods and brackets.
 Here is the new grill. I fabricated an upper mounting bracket and welded some frame tabs so we could lean the top back a little. I think it looks great.

Saturday, March 19, 2016

SHOP UPDATE: Converting some old headlight buckets.

 So I picked up these old nickel headlight buckets and rings.
 I cut some rings out with my plasma cutter and fit the into the headlight bucket. I was able to crimp the edges so the rings stay in place. Then I notched them to align the headlight in the bucket.

 Here are the lights fully assembled. They turned out great.
 Here they are installed on the truck. They are Halogen sealed beams with integrated LED turn signals and park lights.

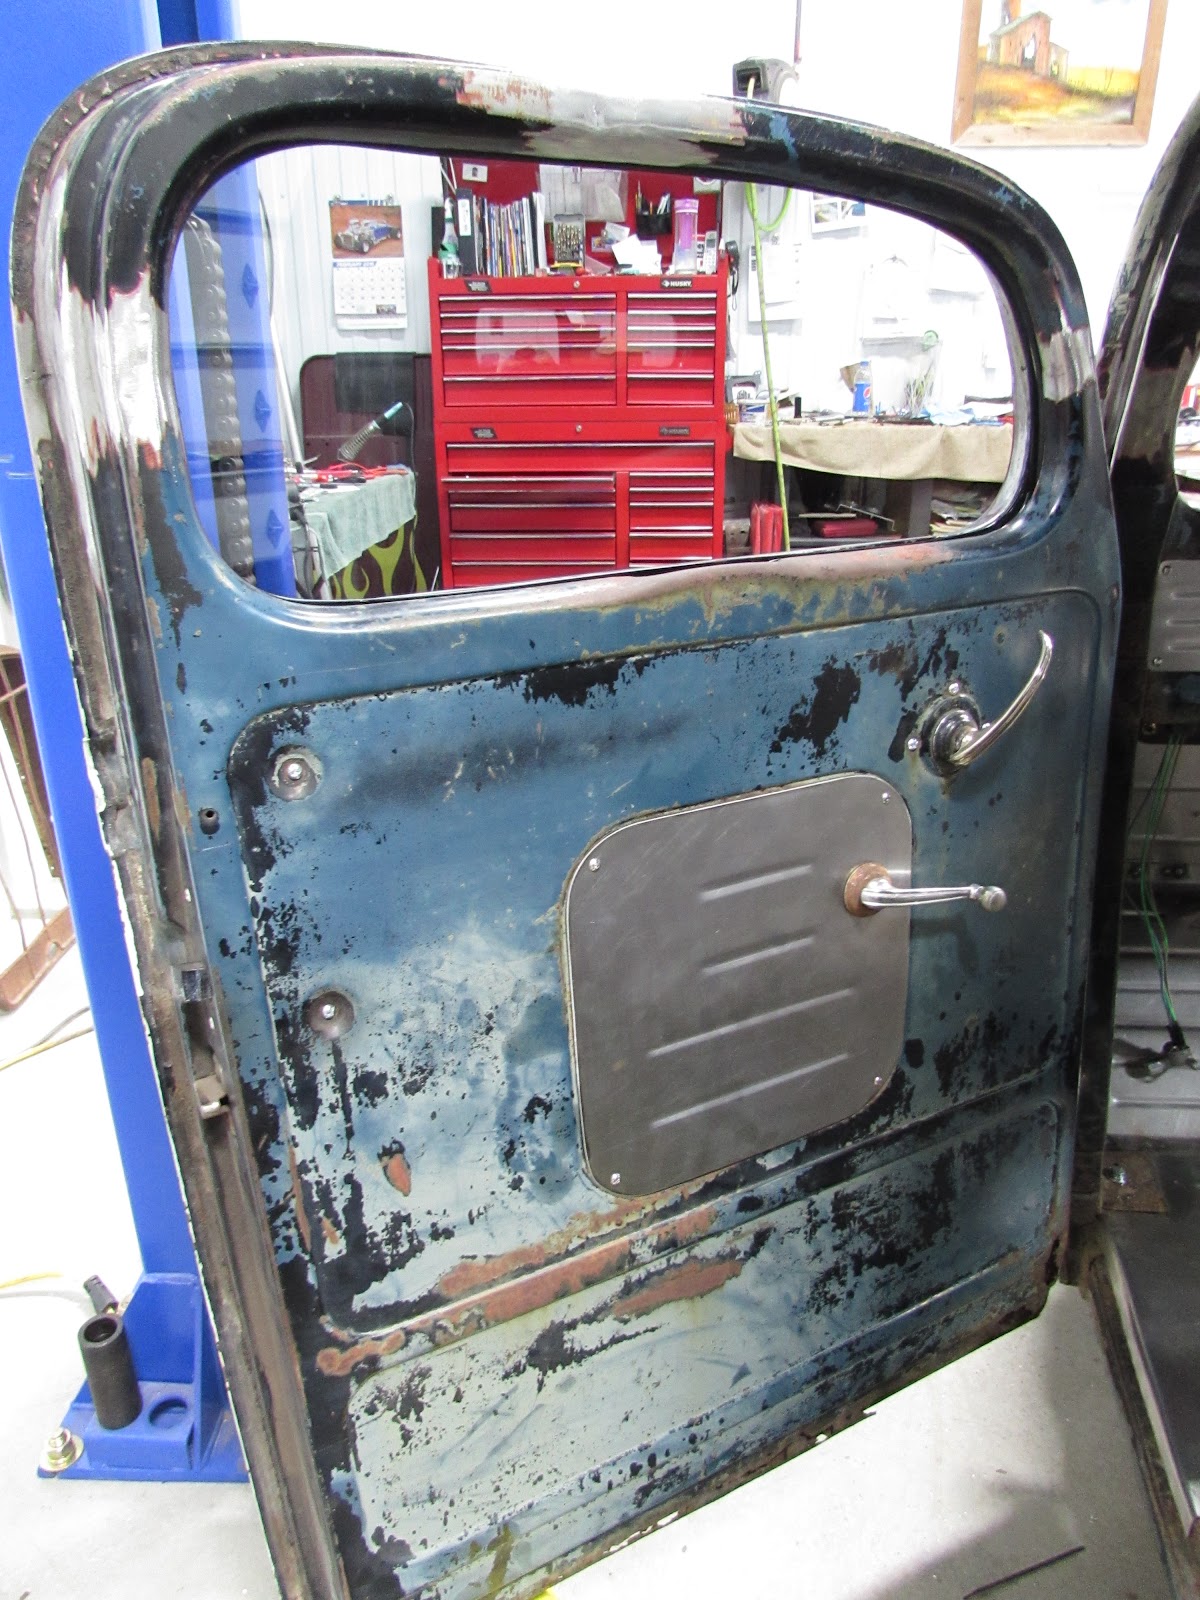
 We made some filler panels for the truck doors. Here I am gluing the anti-rattle material on the inside.

 Here are the panels installed in the doors with all the handles and hardware.
 The truck is wired, dash installed with new glove box and glove box lid. We finished up the mounting brackets for the seat sliders and installed the seat.
 I made some tubes and bench bled the master cylinder. I installed it and Sue and I bled the brakes.
 I finished up the radiator plumbing and Susi filled it with water.
I also made transmission cooler lines and filled the transmission.